Follow Me on Pinterest

Tuesday, November 27, 2012

Brining a Turkey and Getting Ready for Christmas

Thanksgiving Part 2 will be getting wrapped into the Getting Ready for Christmas Post this year.

 I want to share my brine recipe. I brined my Turkey in a clean band new, but washed with soap and water, 5 gallon bucket. Into a sauce pan, I poured 2 cups of apple cider. To the cider, I added 2 oranges that I squeezed into the cider then dropped the whole thing in the simmering pot, also I added a cup of kosher salt, 1 bay leaf, a 5 whole cloves, 1 tablespoon of whole black peppercorns and a 3 sprigs of rosemary and thyme. I brought all of this to a boil. While the apple cider pot was boiling for 5 minutes, I removed the gibblets and neck of the turkey set them aside and added the turkey to my bucket. Then, I turned off the heat to the boiling pot. In a larger pitcher (It was easier to pour from) I combined my hot apple cider mixture with a half gallon more of apple cider. I then added enough water to that to cover the entire turkey. I left my turkey in this over night in the refrigerator. If you are in a cool climate depending on weather, you could possibly leave it covered and outside even.  For roughly 10 hours the turkey soaked up this brine. When it was time to start the roasting process, I rinsed the turkey off with fresh water,  to help cut out some of the salt on the surface of the turkey. I then patted it dry before adding it to the roasting pan. Instead of putting it on a rack in the pan, I roasted my turkey on a bed of carrots, onion, celery and chopped apples. This turkey, I have to admit, was my best ever. It was so juicy and had so much flavor that even the breast meat was juicy and not dry.

The sweet potatoes that I roasted in the oven also got a bit of orange juice to glaze them. I started some orange juice on the stove top to reduce a bit. To that I added a tablespoon of  brown sugar and pure maple syrup. I then drizzled that over my fresh sweet potatoes and roasted them in at 350f for 1 hour. The orange juice and maple syrup really left a nice flavor when combined with the carmelization of the roasting vegetable. Yum.

After having just a really nice time with our family, I could not wait to start decorating for Christmas. Family togetherness just puts me in the mood. I am not a Black Friday shopper but I happened to be at Target purchasing some new lights and ornaments when they called a door buster sale. Whats a girl to do? It was for a new Nikon dslr camera for only $99.00. I could not pass it up. While I may have an iphone and a laptop, I am technology ignorant when it comes to cameras. I have never owned a nice one. Isn't that awful? Well, that all changed. Forgive me dear friends if I begin to inundate you with lots of pictures. Once I figure out how to take a not blurry picture. It is kind of challenging.

 
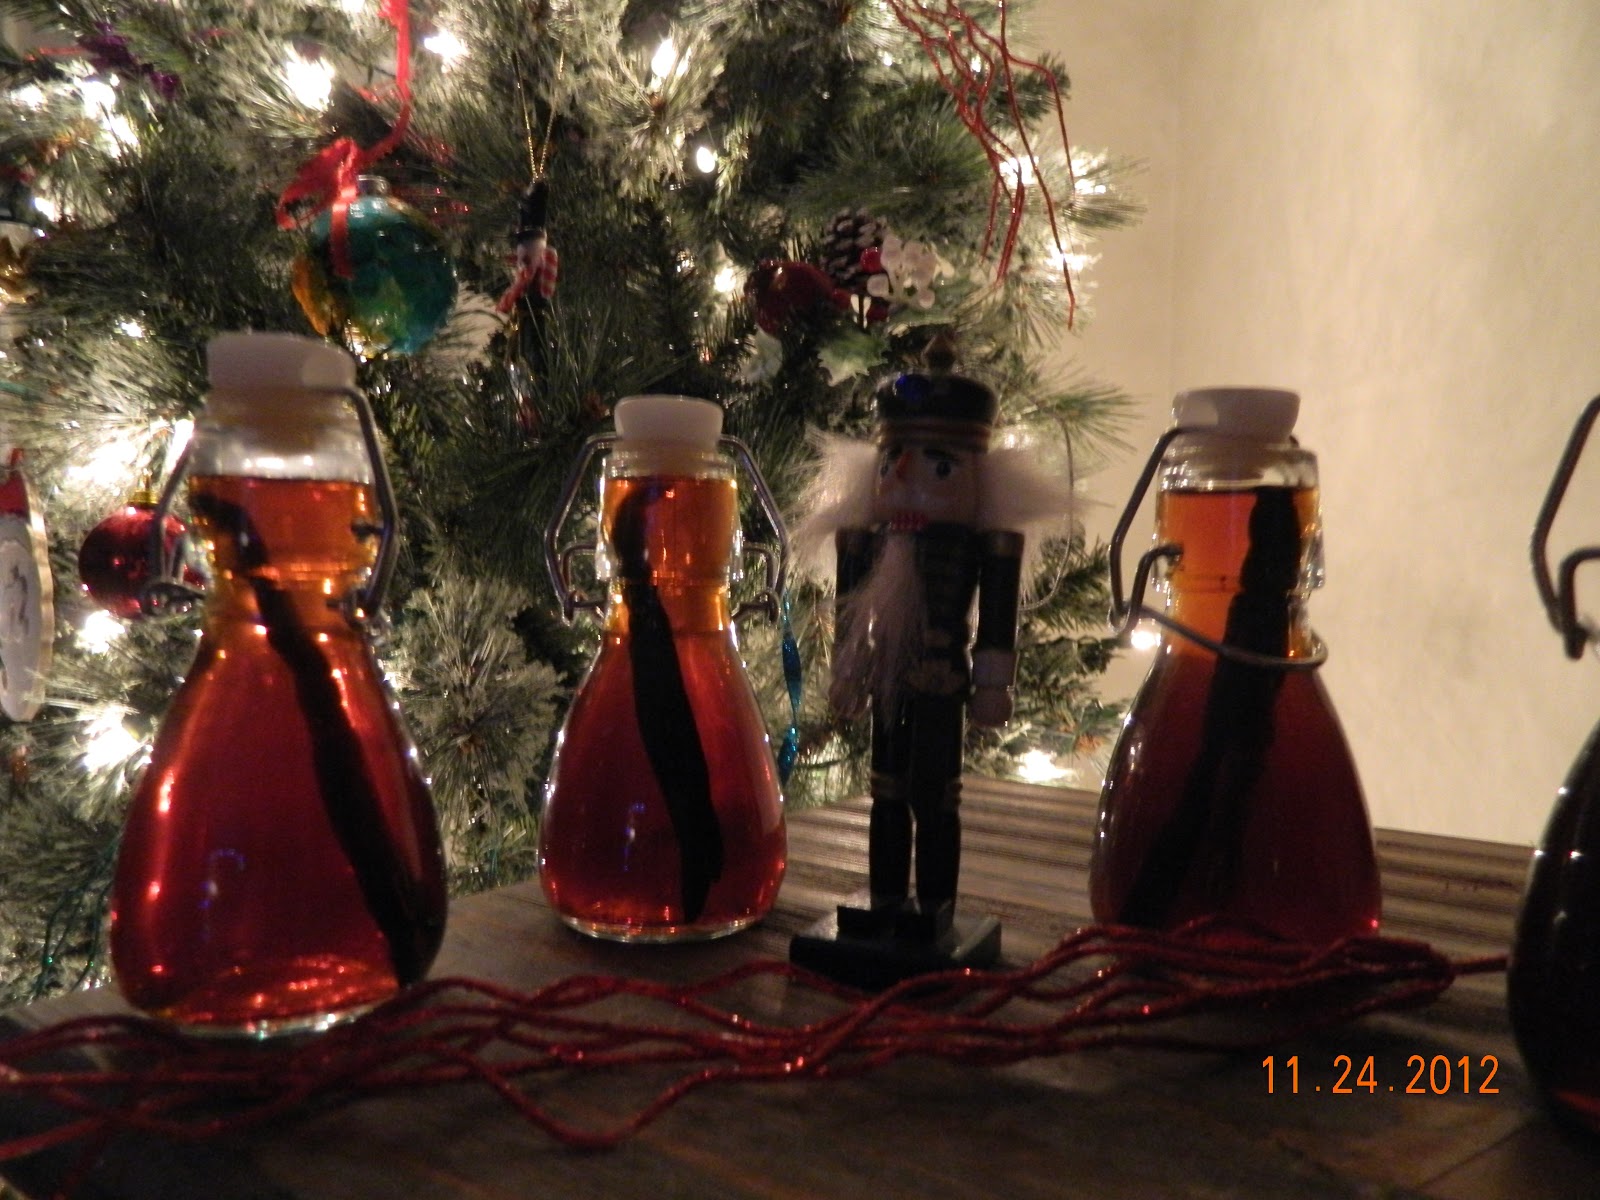
My homemade vanilla extract ready for gift giving
This year, I vow to really enjoy the holidays. No rushing around like a mad woman shopping. No procrastinating on wrapping gifts. No saying "No" to holiday party invitations. I really just want to experience the joy of the holidays. No being too tired or letting life pass me by. Already, I love the way Christmas lights just seem to make our house seem cozier. Is that possible? It just does. There is something about the warm glow that makes the living room seem just that much more inviting. No harsh bright lights in this season. We prefer the glow of candles and white Christmas lights over the normal recessed lighting when hanging out and watching tv. Now, if only I could get my boys to clean their rooms, then life would be complete.

I hope everyone had a nice holiday and that in this upcoming season of holidays you are happy and content in life.

Enjoy
: )

PS...Are there p.s. on blogs? Well there is today... By the Way, I started a Facebook page for this blog. Check us out and give the page a "like" I really appreciate it. https://www.facebook.com/Countrygirlinthevillageblogspotcom
Pin It

Thursday, November 22, 2012

Thanksgiving

Happy Thanksgiving everyone!

Football in the Yard
It is a whopping 6:30am and I have been up for about 45 minutes. Why you ask? Well, because my boys are heading out to rifle hunt with my father. My instructions were to have them ready so they could be in the woods by 6:30am. I did good lol. They are layered upon layered up. Thank goodness for Football season and all the cold weather gear, it came in handy for hunting season. I am not sure if everyone's lives revolve around seasons instead of months but that seems to be how we do it around here. It is a bittersweet moment for me, sending my boys out to hunt deer with my dad. I love and am so thankful that they get to spend that time with him. Memories with Grandparents can not ever be overrated. They are precious precious things. These moments will mark who my boys grow up to be, the kind of men they will be. I learned to shoot from my dad and his father, my grandpa. He was a Marine and a Police Officer in life. Shooting and shooting accurately  was a gift of his. My dad is a really good shot too. Weird things to think about at 6:30 in the morning, I know, but this post is mostly a Happy Thanksgiving and a bit of a reflection because by the end, I hope to list some things that I am thankful for.

My Grandma,  Cousin and Me
Any who, back from my tangent. It is Thanksgiving. My family is gathering at my house today for an early dinner. Turkey will be served at 3:00pm. Football will be watched. Kids will run around and probably knock over things. Laughter will be heard from my house. These moments warm my heart. I had the best family Thanksgivings growing up. Gathered all around my Aunt and Uncle's house. In those days 2 turkeys were served because there were so many of us. Kids everywhere. I am sad in the respect that I sure miss that time period. I miss the loved ones that we have lost, I miss the closeness of family, but I am happy to embark on having those traditions for my niece and nephews. I want them to remember Thanksgivings at my house being a great time. I want them to look back when they are celebrating Thanksgiving with their own families and remember all the laughter and love. Really, Love, is what I am most thankful for.

Goofy Group
I am thankful for my Children, they are the greatest gifts I have ever been bestowed. I am thankful for my Husband, in the most cheesey of movie lines, He completes me. I am thankful for my family, my Parents, my Brother and all the Aunts, Uncles and Counsins. You guys made my early life filled with laughter and love. It is those things that have shaped who I am and my ideals the most. I am thankful for my friends. I have some great ones. My friends I made in childhood and the ones I have met as adults, all are special to me. I appreciate you and your friendships in more ways than I can count. I am thankful for my pets. Sounds crazy right? But, to know me is to know that I love animals and I am thankful for the joy they bring me, they are my companions and protectors on nights my Husband works. 


Favorite pic of Grandpa.Hes hiding...
I am thankful for having had such wonderful Grandparents, both sides of the family. They may have had their flaws, but I could not tell. My grandmothers were strong women. Both of them. They had personalities and gumption to say the least. They hugged me when I cried, read to me, handmade me Halloween Costumes and 1 Grandma even let me ride up in the front seat of the car from Texas all the way to Michigan just because she knew I loved my Grandpa and wanted to sit next to him.  Grandfathers, what can I say that would equal my respect and love for them? Strength, loyalty, love, humor, I hope these are attributes others see in me, because I tried and try to be like my grandfathers and those were their attributes I remember most. Family patriarchs they were, and to say I miss them is an understatement.

My Parents with the Kids
Well folks, it is time for me to rescue my turkey from her/his 5 gallon bucket of brine. As a keeper of chickens, I am pretty sure my bird is a Tom... they tend to be larger and this whopper is 21 pounds of goodness. The turkey has been soaking overnight in a brine of apple cider, water, bay leaves, black peppercorns, thyme, all spice, 2 oranges quarters and squeezed, as well as a cup of kosher salt.  I will be giving him a good rinse in the sink to rinse away the extra salt. Have to have the turkey in the oven by 9:00am to be ready for our early dinner.

Maybe this post will be Thanksgiving part 1.... there are recipes to share from today...Yup, that just might be it.

Enjoy your day everyone
: )
Pin It

Saturday, November 17, 2012

Lotion Part 2 and Baking Bread


Hi everyone, new to the blog and my trusty old friends alike.  It has been a busy couple of weeks leading up to the Holidays, both Thanksgiving and Christmas seasons. I have been hard at work experimenting with making homemade all natural lotions and baking bread. In my last post, I made lotion bars. They are really nice for rubbing on your elbows, knees and heels ladies. Well men too, if they want. You can also rub them back and forth between your hands and they warm enough for you to rub the lotion into your hands.  It is the ingredients that make them hard. The Beeswax, coco butter and coconut oil are all hard in their natural state. This past week, I have been working with different ratios of adding olive oil to the mixture in order to create a softer lotion that could be scooped out of a jar or put into a pump bottle type of dispenser. 

The recipe that I came up with and tried out on my friend Andrea and my mother, seemed to work the best. It is thick but could be thinned out with more olive oil. The beginning is a bit greasy compared to the chemical laden store bought alternatives but this quickly absorbs into your skin leaving no residue, only soft skin and a nice scent. 

I used:
1oz of beeswax
¼ cup of Olive Oil
½ a cup of coconut oil
2 tablespoons of coco butter
For scent, I used sweet orange and tea tree essential oils. I used 20 drops of orange and 3 of the tea tree but feel free to customize your scents.
*The mixture needs to be stirred constantly as it cools so I also used a mason jar. 

In a pan of boiling water, put a glass mason jar.  Add your beeswax first to the mason jar and let that melt down. At this point it is important to mention, do not let water get into your mason jar. The water will aid in breaking down your ingredients and compromise their shelf life. This is an all-natural product and so it could become rancid far faster than oils do if water is mixed in. That being said, I then add in the coco butter and coconut oil. As those melt and come together I added in the olive oil. Once all the ingredients have become liquid and are combined, remove the jar from the boiling water and let it begin to cool. As it cooled I then added in my essential oils. This mixture needs to be continuously stirred to keep the ingredients from separating and becoming solid as they cool. I put the lid on my mason jar and just shook it up every couple of minutes. This went on for about 20 minutes as it cooled. I just held the jar in a towel because it was hot.  

An almost butter consistency
As it cooled and started to form into a semi-solid mixture, I transferred it to jars that I bought at Hobby Lobby. They have a sealed top and a little wooden spoon that is perfect for scooping.  I have to say, I love this product. I use it on my hands as well as in my hair. Just a little but smoothed away the frizz that my hair is prone too. I love it!


This morning I woke up really in the mood to make some comfort food after experimenting all week in the kitchen on non edible things. It was a cold start to the day, I was up early to take my son to meet his church youth group who were volunteering at a local homeless shelter, so why not? When I got home, I had a cup of coffee and decided to bake some bread.  This was all spur of the moment so I went with a new recipe that I kind of made up as I went.

I used:
3 cups of bread flour
 1/2 cup of shredded sharp cheddar
 1cup grated parmesan cheese
 1 tsp of salt
 1tbsp of sugar
 2 tbsp of soft butter
Beer I used
 2 tbsp of sour cream
 2 tsp of dry yeast
½ cup of beer
1/3 cup of water (check for consistency and more or less depending)  plus an additional ¼ cup of water for the yeast to bloom in.

In a separate bowl, I added the yeast and ¼ cup of warm water. Set this aside until the yeast is frothy.
I mixed the dry ingredients into my Kitchen Aide Mixture with the bread hook. I mixed the dry ingredients all together before adding anything else. 

Then to the dry I added the butter, Sharp Cheddar, sour cream and the yeast filled water. Slowly I incorporated the beer first to be sure that all the beer was used and then added water until the dough formed a mass swirling around the mixing bowl all attached to that trusty bread hook. I let this bead for 4 minutes.

In a bowl, covered with a damp cheese cloth or kitchen towel let this rise for about 45 minutes or until it doubles in size. Then punch down the dough and knead it again for a few minutes. Into a greased 9x5 loaf pan it goes and let it rise again for half an hour. This went into a preheated 350F degree oven and baked for 35 minutes. 
The bread is good. It is a dense bread and not at all light and fluffy but it is a good consistency and I like the flavor that the sour cream and beer left. The cheese all but disappears in the baking and leaves it with just the hint of flavors without any gooey-ness. Overall a nice bread for slicing and eating with butter. Yum. 


Pre-Thanksgiving dinners this week will not be elaborate meals. I am thinking beef stew tonight. Sounds good and its easy to make.

Enjoy
: )
Pin It

Sunday, November 11, 2012

Why Not Skin Care Too


Back to Basics and living simple have always meant spending more time at home with family and friends and also within my community. It incorporates eating locally and in my case keeping backyard chickens. Once those became a part of my everyday life, I also became interested in natural skin care products. I have always been a lover of the brand Burt’s Bees. I love their lip balms and lotions. The wheels started to turn in my head... why couldn't I make my own skin products. Just last week, at a craft show in my small village, I purchased some shea butter bars. These were awesome for softening skin and seemed simple enough to try and recreate. Thank you vendor...You were my Muse and inspiration this weekend.

Ingredients
Normally, I like to order my essential oils and all things herbs and natural products from Mountain Rose Herb…at http://www.mountainroseherbs.com/ They have a long line of products and I have never had a bad one or poor service yet. Love them! Alas, in my spur of the moment decision to make my own lotions, I had to find another option. I grabbed my mother and headed out to find a natural whole foods type store that carried what I needed. As luck would have it we found Beeswax, Coco Butter, Coconut Oil, Essential Oil (Sweet Orange scent) and also Vitamin E oil.  I am almost positive my mother thought my grocery list was a tad bit crazy but she is always a good sport and supports my ideas.


Once home, I assembled my ingredients and just kind of winged it recipe wise. I did not measure anything other than to keep everything in equal parts. In a double boiler, I added my beeswax. After that had melted I added equal amounts of Coconut Oil and Coco Butter. All three ingredients in equal parts.  As they melted and incorporated I turned off the heat to the double boilers. When the oils began to cool, I added in a few drops of vitamin E oil and the essential oil to scent my lotion bars.  Then to set the bars, I poured then into silicone muffin baking “pans” molds, whatever they are technically called and left my lotions to cool and set up. 

The beeswax, coco butter and coconut oil are all naturally hard materials and so they re-harden nicely. To use the lotion bars, the heat from your body will be enough to soften them and distribute the natural goodness to your skin. You can rub the bar directly onto your skin if you would like or as I do, rub it between your hands to heat and then apply wherever you would like. 

One thing to note about my experiment. Get your essential oils from a good source. The ones I bought were ok enough but their scent was not as good of a quality as the ones I am used to getting from Mountain Rose Herb. The coco butter naturally smells like chocolate so my lotions bars still smelled nice as well as felt silk smooth, but overall, I like the products I am able to make from ingredients from my usual source better than those I obtained from the grocery store. 

Finished Product
My next attempt is to make a softer version of this lotion that could be placed in a pump. I think to do this I would need to add in more liquid oil such as olive oil and lessen the amount of beeswax. Ahhh, we shall see. That experiment is for another weekend/another day.  If you decide to try this out, I would love to hear about your experience, please share. You can find me on both Twitter and Facebook. On twitter, follow me @VillageGirlBlog and on Facebook at https://www.facebook.com/Countrygirlinthevillageblogspotcom


As always,
Enjoy

:  )


Pin It

Sunday, November 4, 2012

Potato Corn Chowder

 I follow along with this group that posts amazing recipes for #SundaySupper. Their theme this week was warming foods. Well, that is right up our alley. My house has the typical change in weather colds that pop up around this time of year. The wind is howling outside and today simply calls for soup. Or in this case, Potato Corn Chowder. My awesome cook extraordinaire Mother-in-Law gave me this recipe, credit to Mona Cole of Michigan. I just love it.
 
You need 6 slices of Bacon, to dice and to get your pan full of dripping goodness
2 stalks of celery diced
1 small onion diced
3 potatoes… Here I differentiate; I like to use fingerling potatoes and dice up about 10 of them, color or
         kind does not matter.
Water, but I use Chicken Broth,  enough to cover the potatoes, usually 2 to 3 cups
1 can of Cream Corn…If you can make that from scratch go for it, but I use the can
1 ½ cups of frozen corn, I freeze mine of the cob.
1 cup of Milk, I use 2% but whole works too
1 teaspoon of salt
1 clove of garlic, minced
¼ teaspoon of white pepper
1/8 teaspoon of cayenne pepper (optional but good)
1 teaspoon of butter…the real stuff

In your soup pan, fry up the bacon. Once done to crispiness, set bacon on paper towels to dry. Reserve about 1 tablespoon of the grease in the bottom of the pan to add cook your veggies in. Add to the bacon drippings the celery, onion and garlic. Saute until for about 10 minutes. Then add in the potatoes and sprinkle with the salt and peppers. To this add enough water to cover the potatoes. Cover and simmer for about 20 minutes or until the potatoes are tender. At this point, add in the corn and creamed corn. Top with the milk and simmer, take care not to boil, for another 10 minutes until the corn is warmed through. Just prior to serving, I add in a teaspoon of real honest to goodness butter. The butter just finishes off the chowder but can be omitted if someone wanted to.

To serve, pour into bowls and top with the bacon from earlier. I also like to add in a nice pinch of extra sharp cheddar cheese.  My husband likes to top his with those crispy fried onion rings that you can buy at the grocery store.  Salt and Pepper with black pepper to taste. This Chowder is made with milk and the creamed corn to give it a healthier cream/chowder texture and flavor with less fat. You can absolutely substitute the milk for cream to make it richer.

Enjoy

: )


Pin It

Unprocessed October Goodbye & Pizza


Oh Unprocessed October, how you have changed me. It had not occurred to me on November 2 that it was no longer Unprocessed October. Meal planning, making unprocessed foods and not eating out as much has become part of my routine. When the realization hit me I thought, well, I am going to get me a Fruit Punch Drink. The pretty red, the deliciously sweet goodness served over ice that I used to indulge in weekly. It was awful! I swear drinking it down it was like trying to drink syrup. I gave up. Good bye fake fruit punch drink; you are way too sweet and syrupy for me now. 

  My family for the most part did not eat a lot of processed foods so I thought going into the challenge that it would be an easy task to take, a nice way to incorporate more recipes and eat a bit healthier. I underestimated the planning part that goes into cooking from scratch and preparing whole foods. Unprocessed August would have been easier for me. Fresh veggies from the garden and grilled meats were on my table regularly, not to mention that I was off work and the kids were off school so there was more time available. Unprocessed October made me face that I was getting lax in my planning and was starting to fall into a rut of forgetting to set something out for dinner and so let’s just go out to eat mode. I appreciate the wakeup call. This way of eating and taking care of my family is something that I take seriously and I am glad for the challenge that woke me up and stopped my slide into convenience foods that are filled with not so wholesome ingredients and chemicals.


Sauced
Saturday, my family was in the mood for pizza. Frozen pizzas had been a staple in my freezer for many years. My boys like to just pop them in the oven and voila they have pizza. However, Unprocessed October and my commitment to not buying processed foods left those pizzas at the grocery store. After scouring Pinterest for pizza recipes, I decided that I wanted to try and make a pizza in my cast iron skillet. I was hoping for a Pizza Hut type pan pizza crust with real mozzarella cheese, the kind that comes in a ball and is super soft, way too soft for shredding. 

I read that you needed to start with a hot pan and oven to help keep the heat even on the pizza crust so I started with preheating my oven to 450F and put my skillet in there to begin to get it hot. Before putting in my skillet, I wiped the pan down with organic coconut oil.  For the dough, you will need…

·         2  1/2 cups all-purpose flour
·         A pinch of salt
·         1 teaspoon of sugar
·         1/2 teaspoon dry fast active yeast
·         1 tablespoon of extra virgin olive oil
·         1 to 1 ¾ cups of warm water

Toppings
In to my bowl I added the warm water, sugar and yeast. Left this stand for about 5 minutes or until the yeast is activated and frothy then add in the olive oil.  In my KithcenAid mixer, I added the flour and salt together and stirred to incorporate them. Slowly pour the wet ingredients into the mixing bowl. The dough should be stickier than you would want for working with bread but still pull away from the sides of the mixing bowl. Add more water for flour as needed. Once the dough has been worked, let that sit for 5 minutes to rest and rise a bit. 

For the sauce, I decided to make my own also. I started with a can of diced tomatoes and blended them smooth, to that I added a tsp of dried oregano and a tsp of olive oil with a pinch of brown sugar. Put those together in a sauce pan and simmered on medium heat. Once the sauce was heated I added 2 tsp of tomato paste to thicken it up a bit. Once I was ready to dress the pizza crust, I added a handful of fresh basil ribbons to finish off the sauce. I just love basil and tomatoes together. It is one of my favorite combinations. 

Finished
When the pizza dough was ready, I pulled out my hot cast iron skillet and began carefully spreading the dough out in the pan using light finger touches to spread it into place. I then topped the raw dough with my sauce and added fresh mozzarella, pepperoni and mushrooms.  Then pizza needs to bake in the 450F oven for about 17 to 20 minutes depending on the thickness of your dough. I was going for thicker crust and used all of the 20 minutes to bake it. When the pizza came out I topped with scallions and more basil.  

This pizza was awesome if I do say so myself. The cast iron skillet really made the crust have that crunch at the bottom that makes the pizza place have such great pizza. The fresh ingredients cannot be beat. My sauce next time, I believe I will add red pepper flakes. I had not thought of it until we were eating the pizza and I thought, hmmmm this could have a kick to match the pepperoni. The fresh basil and the green scallions were wonderful additions to the toppings. 

Give it a try, you will not be disappointed. Feel the cast iron love.

: )

p.s. In case anyone was wondering how my youngest son's costume came out. I think he did really well. It was a fun idea. Heres a picture of our group before Trick of Treating.


Pin It